
(#fifinRE) (fifth informatic revolution)
http://learn.wordpress.com/get-published/
Become YourSelf Public
reCreate Your First Post

You now have your Big Idea and a nice design to boot, and you’re ready to show the world what you’re made of. Ready to start adding posts and pages to your site?
Posts versus pages: What’s the difference?
While publishing posts is the primary way to share content on your site, you can also add additional pages to make it look and feel more like a traditional website. So what’s the difference between posts and pages?
Posts are what make your blog a blog — they’re servings of content, similar to journal entries, listed in reverse chronological order. Posts can be as short or as long as you like; some are as brief as Twitter updates, while others are the length of essays.
Pages, on the other hand, are best suited for more timeless content that you want your visitors to be able to easily access, like your About Me or Contact sections.

By default, all posts will appear on your blog’s front page, but you can also display specific posts on category pages (and do other nifty things) with our custom menus feature.
Create a test post
To get you acquainted with how the post editor works, let’s take a minute to publish a quick test post (you can delete it right after you’re done.)
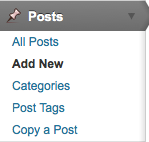
Log in to your WordPress.com dashboard, and head to Posts > Add New.
First, write a title for the post in the space at the top. Think of your post title as a headline for a news article — the more detailed and captivating it is, the more readers it’s going to attract. Since this is just a test post, keep it short and sweet.

Below the title you’ll see the visual editor, which allows you to easily create, edit, and format the content of your post, similar to the way you would with a word processor.
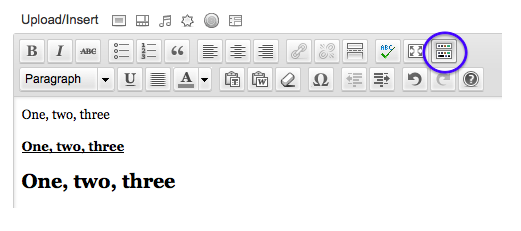
Type some text in the editor, then highlight different words with your cursor and play around with the various formatting options (you can enable additional options by clicking the Kitchen Sink icon shown below).
There are several other modules on this screen, such as the Writing Helper and Categories sections, but you can read up on the various writing and editing features later. Just ignore them for now, as they’re not essential for publishing posts.
You can save posts any time (without sharing them) by hitting the Save Draft button. When your test post is finished, click Publish.

That’s it! Now click on View Post and you can see exactly how your post appears to the rest of the world.
Going back to edit posts
If you decide that you’d like to go back and edit or delete a post (whether it’s saved as a draft or already published), go to Posts > All Posts.
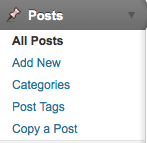
Here you’ll see a list of all of your posts. Clicking Edit under the name of a post will take you right back to the editor, where you can make changes. To delete a post, click Trash. Learn more about the edit posts screen here.

Enhancing posts with hyperlinks
One of the most commonly used features of the editor is the link button, which you can use to transform text into links to other webpages, without displaying any long, ugly URLs.
![]()
So instead of posting
“I found all the answers to my blogging questions at http://en.support.wordpress.com!“
you can post something like:
“I found all the answers to my blogging questions in the awesome WordPress.com Support documentation!”
Here’s how to use the link button. For an explanation of how all the buttons work, check out thevisual editor support document.
Publish your introduction post
If you already know what you want to say in your first post, feel free to skip this section and publish away. If not, we’ll help you brainstorm some ideas right now. Keep in mind that this is your first post of many more to come. If you don’t like how it turns out, you can always edit or delete it later.
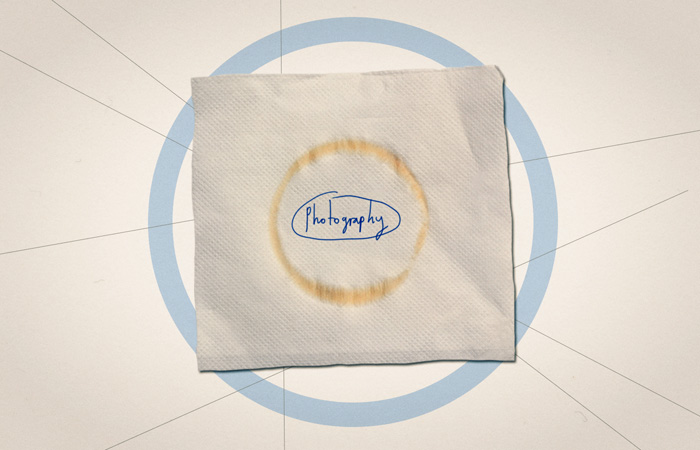
So you’ve had a look at the ideas you scribbled down earlier, and now you’re ready to get a little more focused. Grab another scrap of paper, napkin, or whatever you’re using, and put a single word in the center – the one word or short sentence that defines what your blog is all about. Here’s mine:
Now, reset your timer for 2 minutes. Write down as many random post ideas as you can think of that relate to your key idea. They don’t need to make sense and you don’t ever need to use them, this is just an exercise in letting your hand do the thinking. Here’s mine:
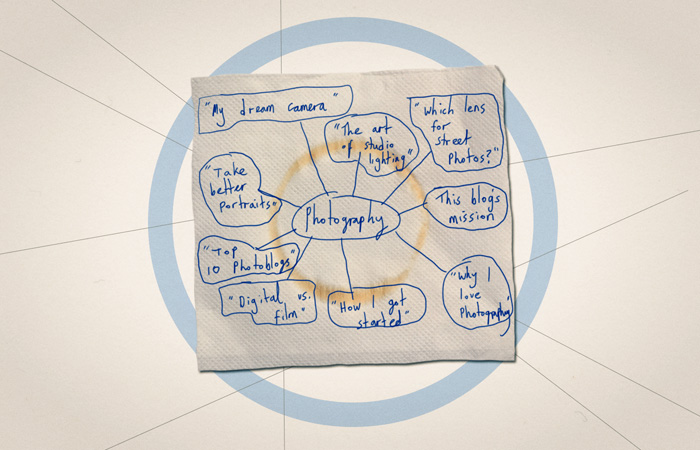
If any of those look promising, give yourself another minute to make a decision about which one you’ll write about first.
“Good writing is supposed to evoke sensation in the reader—not the fact that it is raining, but the feeling of being rained upon.“
E.L. Doctorow
If that didn’t work out as well as you had hoped, you can try the exercise again, or:
- Take five minutes to write about who you are, and why you’ve decided to write a blog about X. This will be the basis for your introductory post.
- Set yourself a strict five minute limit to scan through as many of your favorite blog, news, or niche-focused websites as possible and scribble down as many posts or news items that really interest or call out to you. Then, take a second minute to select one of those posts that you’d like to tell your readers about with a line or more of your personal commentary.
- If none of those take your fancy, head over to Plinky.com, our site dedicated to giving you ideas for things to write about.
Additional Resources
Are You Writing Rockin’ Blog Post Titles?
Saving and Returning to Draft Posts & Page: Video Tutorial (WordPress.tv)
Writing & Publishing Post Video Tutorial (WordPress.tv)
No hay comentarios:
Publicar un comentario
yesyukan